Installations / Western / Yamaha Drive2
Western / Yamaha Drive2 lithium install guide
How to install a 48V 105Ah EcoBattery lithium kit in your Western or Yamaha Drive2 golf cart. Drop-in fit — no fabrication needed.
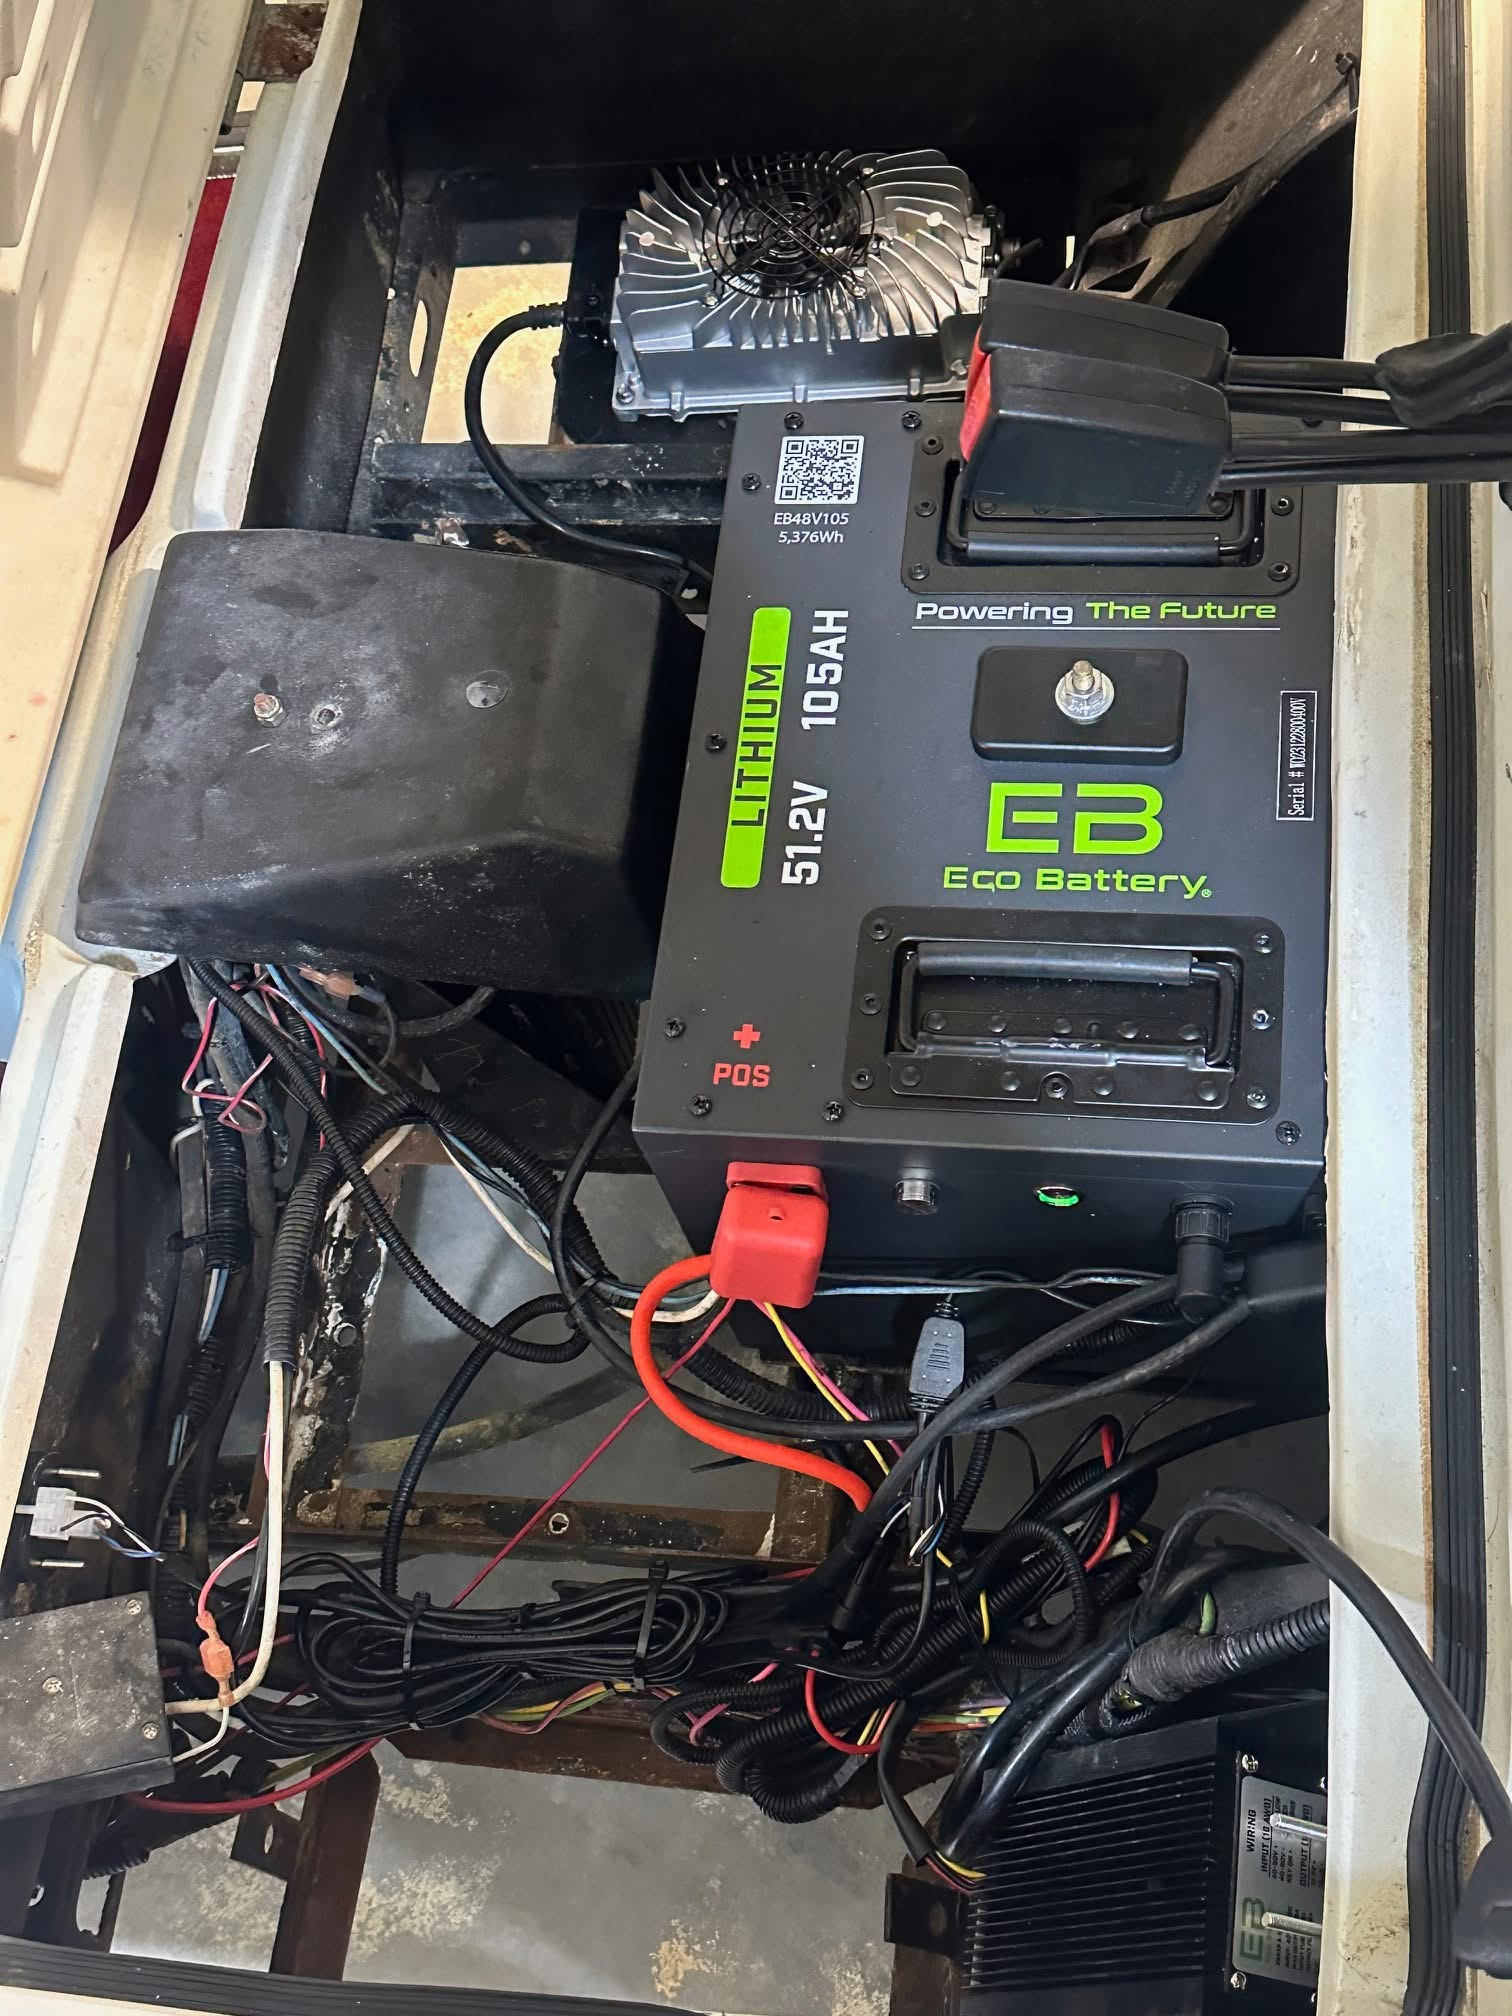
Installation steps
Disconnect the existing batteries
Disconnect the negative cable first, then the positive. Remove the lead-acid pack from the battery well.
Inspect and prepare the battery well
Check for corrosion or damage. Clean the contacts and ensure the mounting surface is flat.
Drop in the 48V lithium kit
The EcoBattery pack seats directly into the factory battery well. No drilling or bracket modifications required.
Reconnect the cables
Connect positive first, then negative. Double-check connections are snug before powering on.
Program the speed controller if needed
Upgrading to 48V from a lower voltage may require a controller adjustment. Refer to your kit documentation.
Test drive and confirm
Drive the cart at low speed first, then open it up. You should notice improved torque and a higher top speed.